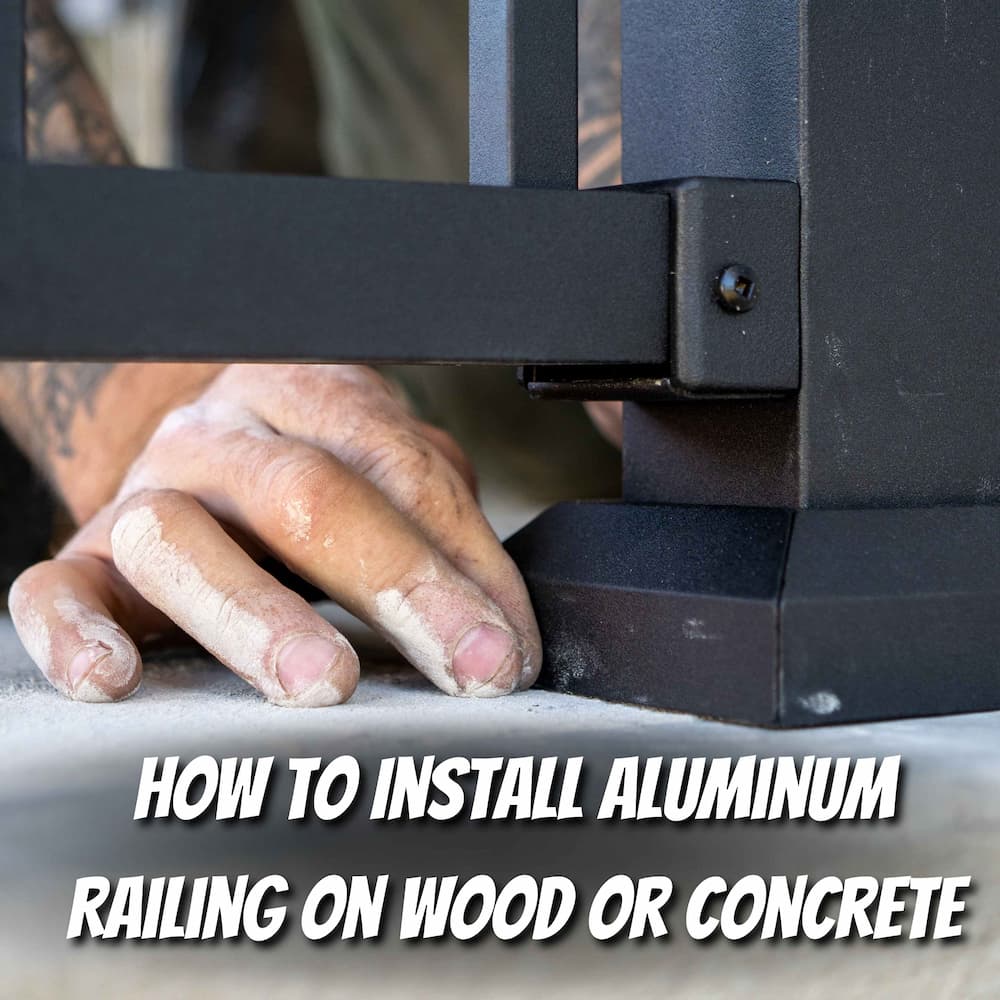
How to Install Aluminum Railing on Wood or Concrete

This guide shows how to install aluminum deck railing on wood decks and concrete patios, how to cut aluminum deck railing cleanly, and what fasteners to use. In this article, we reference Keylink railing, but most of this information applies to other brands as well.
Plan and layout
A simple sketch and a few checks save time later.
Sketch runs, corners, and stair lines. Mark post centers on the deck or slab. Verify local code for guard height and the 4-inch sphere rule. Most systems allow 6–8 ft post spacing; refer to your railing’s recommendations.
Shopping for components? Start with aluminum railing and compare Keylink metal railing options like American Series, Outlook, and Chesapeake.
Tools and fasteners
Use the right blade, bits, and anchors for a clean, strong install.
Core tools
- Tape, square, level, clamps, pencil
- Drill/driver; hammer drill for concrete
- Miter or chop saw with a fine tooth carbide blade for non-ferrous metal
- Fresh drill bits to prevent walking; step (unibit) for enlarging holes
- File/deburring tool, touch-up paint, safety glasses and hearing protection
Wood deck fasteners
For surface mount post bases on wood framing, use a 5/16″ × 4″ structural screw such as Simpson SDWS 5/16″ × 4″. Alternatively, a 5/16″ lag screw works when driven into solid framing. Keylink also offers a through bolt option with plate.
Concrete deck fasteners
Pick anchors based on capacity, workflow, and budget.
| Fastener | Pull-out strength | Ease of install | Typical cost | Pros | Cons |
|---|---|---|---|---|---|
| Tapcon 5/16″ concrete screw | Medium | High | Low | Fast, single-step install, easy removal | Requires clean holes; lower capacity than wedges/epoxy |
| Red Head wedge anchor (⅜″–½″) | High | Medium | Low–Medium | Strong values, widely available, consistent | Precise hole/torque needed; can stress weak edges |
| Simpson SET-3G epoxy + 5/16″ threaded rod | Very high | Medium | Medium–High | Top capacity, good near edges, adaptable conditions | Brush/blow cleaning and cure time required |
Reference specs: Tapcon, Red Head, Simpson SET-3G.
Measure and cut aluminum rails
Account for bracket collars and each brand’s deduction.
Most railing brackets include a collar that offers a little play. Each brand publishes a post-to-post deduction. Measure the clear opening, apply the brand’s deduction, and cut both top and bottom rails to that length so factory baluster holes stay centered.

- Use a miter or chop saw with a fine tooth carbide blade.
- Support and clamp the rail before cutting; keep the finish off the table.
- Deburr and touch up cut ends.

Mount posts on wood and concrete
Get posts plumb and locked before hanging rails.
Wood framing
- Set bases over solid framing or added blocking.
- Use the leveling plate and set screws on the Keylink system to get posts plumb; if using another brand, use plastic shims.
- Drive four 5/16″ × 4″ structural screws (or lags) into framing. Snug, plumb, then fully tighten.
- Stagger fasteners at corners to avoid bracket conflicts.
Concrete slabs
- Mark holes; drill with a hammer drill. Clean holes thoroughly.
- Install anchors:
- Tapcon 5/16″: fast install; don’t over-torque.
- Wedge anchor: embed to spec; torque the nut to lock.
- SET-3G + threaded rod: brush/blow, inject epoxy, insert rod with twist, allow cure, then tighten nuts.
- Plumb posts and recheck after tightening.
Attach bottom rails and brackets
Templates help; self-centering brackets make it simple.
Many brands offer a template to mark bracket placement. Follow the template for bottom and top bracket locations. Keylink uses a self centering bracket that aligns the rail inside the bracket, speeding placement.
Pre-drill whenever possible. Use a fresh bit designed to reduce walking and paint chipping. Drive screws until snug; aluminum can strip if over-torqued.
Pro tip (lighting): Running a daisy-chain connector through the top rail? Drill a pilot first, then use a step (unibit) drill to open the hole cleanly. Deburr to protect wiring.
Install balusters and the top rail
Dry fit, level, then fasten.
Set the bottom rail in brackets and confirm level. Insert balusters. Lower the top rail onto balusters and fasten to the top brackets. Many modern kits, including Keylink square-baluster systems, don’t require specialty tools or separate templates for this step.
Stair railing tips
Correct post placement keeps the stair line perfect.
- Keep the transition post close to the deck edge. Setting it too far back forces the stair rail to mount too high at the top post.
- The stair post and the adjacent level post should match in height.
- Measure the inside-to-inside distance at the stair angle. Cut rail ends at matching angles. Trim evenly from both ends to keep factory hole fields centered.
- Use the brand’s stair brackets or wedges rated for your angle.
Finishing touches
Lock in longevity and a clean look.
- Post caps: For lighted caps or non-friction caps, add a bead of exterior caulk adhesive or screw to hold them in place.
- Touch up: Seal cut edges and small scuffs with touch-up paint.
- Clean down: Remove metal shavings and dust to protect the coating.
Want a fast materials list?
Share a sketch and measurements to get a complete takeoff.
Get a Free QuoteFrequently Asked Questions
How do I install aluminum railing on concrete?
Use a surface mount base with anchors that fit your slab: Tapcon 5/16″ screws for speed, wedge anchors for high capacity, or SET-3G epoxy with threaded rod for maximum hold. Drill, clean holes, set anchors, plumb the post, then tighten.
How do I cut aluminum deck railing?
Use a miter or chop saw with a fine-tooth carbide blade. Support and clamp the rail, cut slowly, then deburr and touch up. Avoid circular saws for rail cuts.
What screws should I use for posts on a wood deck?
Simpson SDWS 5/16″ × 4″ structural screws are a great choice. 5/16″ lag screws also work when driven into solid framing. Keylink offers a through-bolt with plate when required.
Do I need a bracket template?
Some brands sell a template separately. Keylink uses self centering brackets that simplify placement. Always pre-drill and use fresh bits to avoid walking and paint chipping.
How much should I cut off between posts?
Most brackets have a collar that provides slight play. Follow the brand’s published deduction from post-to-post measurement and keep factory hole fields centered.
About the Author: Jonathon Sims leads INSO Supply’s railing content and has 13+ years of hands-on experience helping customers plan and install aluminum systems.


Leave a comment